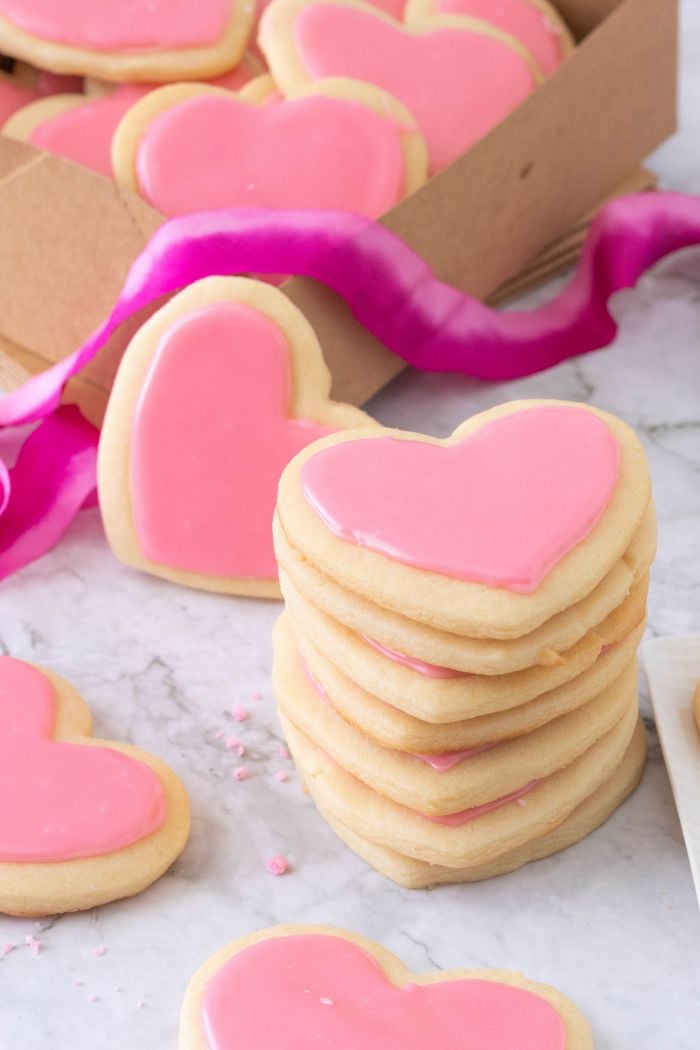
Valentine's Day Heart Cookies
These cute cut out cookies are so easy to make and so much fun to decorate! Great for gifting, sharing, and memory making with kids!
(5 stars from 4 ratings)

Wednesday February 10, 2021
380
SHARES
262
118
-
Butter Eggs Flour Milk Shortening Sugar Vanilla Extract
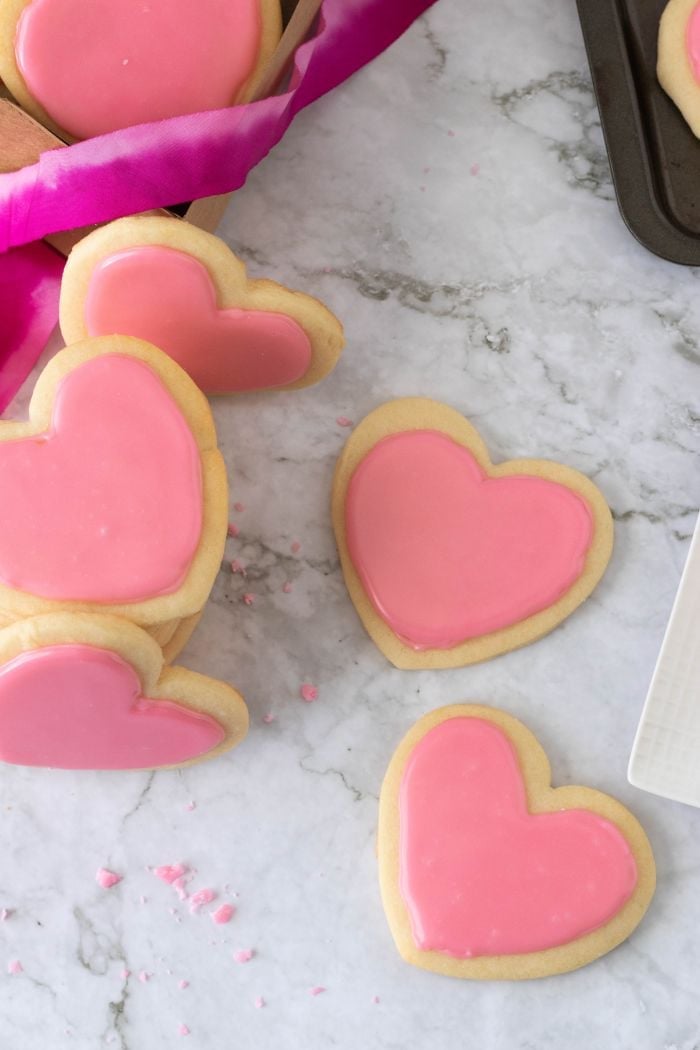
Valentine's Day Heart Cookies
These cute cut out cookies are so easy to make and so much fun to decorate! Great for gifting, sharing, and memory making with kids!
Wednesday February 10, 2021
(5 stars from 4 ratings)
Butter Eggs Flour Milk Shortening Sugar Vanilla Extract

.jpg)


Here's what others said
Somona stacey
Monday January 30, 2023Looks so good!
Natalie
Tuesday January 31, 2023I hope you get to try them for valentines!
Gayle Dominikovich
Monday January 23, 2023Looks like an amazing recipe
Natalie
Tuesday January 24, 2023I hope you get a chance to try it!!
Nancy
Monday January 23, 2023Sound delicious, so pretty!
Natalie
Monday January 23, 2023Thank you Nancy!
tina keck
Saturday January 21, 2023Would love to see more recipes
Ann Marie Miller
Sunday January 22, 2023Yes
Natalie
Sunday January 22, 2023You have signed up for the newsletter so you will be notified with new recipes!
Melissa Woods
Saturday January 21, 2023LOOKS YUMMY
Natalie
Sunday January 22, 2023I hope you try them out!
Patti
Thursday January 12, 2023When I go to print, a blank page comes up
Natalie
Thursday January 12, 2023Thanks for the heads up! I’ve gone ahead and had that fixed up, it should be working now
Susie Weaver
Saturday January 21, 2023I’m having the same problem…blank pages when I try to print. 😟
Natalie
Saturday January 21, 2023Oh no! Can you let me know if you’re on your phone or computer and which web browser you’re using? (Chrome, Safari, Firefox.. etc) Also, try on another device and see if that works any better! Thanks 😊
Susie Weaver
Saturday January 21, 2023I was using my phone. I finally got it to work!! Thank you for replying. I’m going to bake some today.
Natalie
Sunday January 22, 2023I would love for you to let me know how you enjoy them!
Michele
Friday February 18, 2022These cookies are so good and easy…I added lemon to the icing and everyone commented on how delicious they were!!! Manning them today for my granddaughter birthday party ❤️
Natalie
Saturday February 19, 2022I’m so happy to hear you loved the cookies; I would love to try them with lemon, yum!!!
Marilyn
Friday February 18, 2022I have been making iced sugar cookies for years but lost my recipe and decided to try this one. Best thing that ever happened was losing that recipe! Outstanding results with this one, the cookies were just the right balance of flavor and texture. Delicious and lots of compliments on my Valentine's Day cookies from family!
Natalie
Saturday February 19, 2022I’m so glad you gave this a try!! They are my family’s favorite!!
Leanne
Monday February 22, 2021LOVED these cookies!!! I thought they would last much longer, but were eaten all too quickly.
Natalie
Tuesday February 23, 2021I know the feeling! So happy you liked them!!